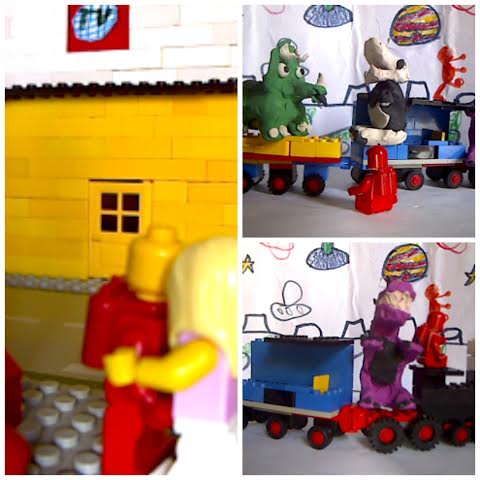
This post is written by Paul, as it was definitely his kind of project!
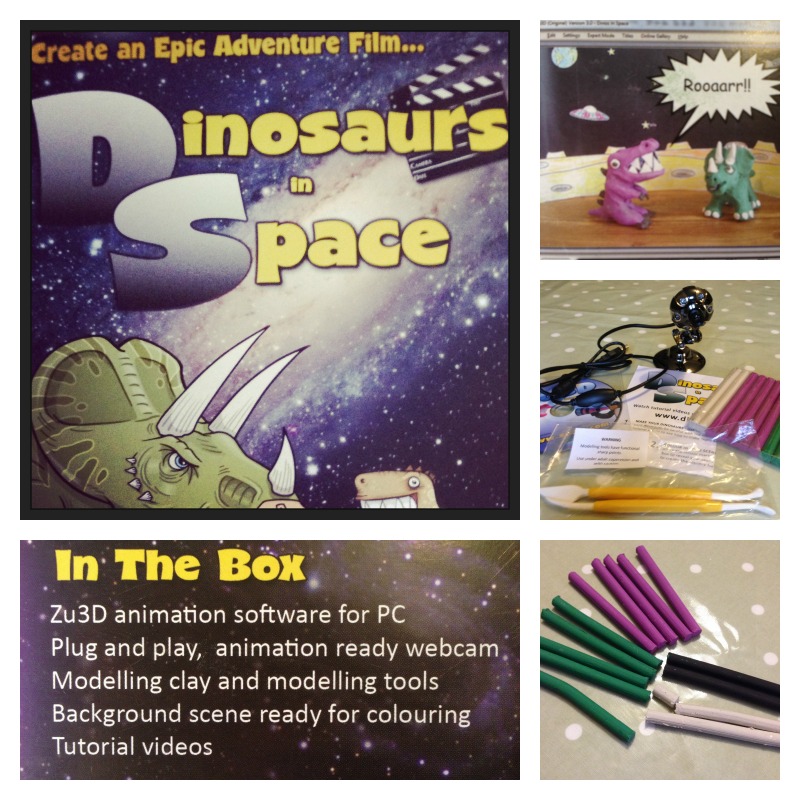
At the Welly Walk last month we were given a stop-go animation kit, “Dinosaurs in Space”, by Zu3D.
We were really excited about this; our older boys had made several attempts to animate Lego minifigures using daddy’s phone as the camera, and windows movie player as the clunky means of viewing the film, in a process that should have been called “stop, go, stop, stop, shout a bit, stop and try and go again animation”.
On the Welly Walk day, as soon as Owl saw the stall and its software, he suggested I take the last set of unedited frames off the phone – 125 shots of a Lego car driving across a carpet in granny’s house – and import it into the Zu3D editing suite. This worked immediately, and he then spent ages tinkering with the film, while Monkey started from scratch next to him with a piece about a dinosaur being knocked out cold by a falling apple. Both boys could use the software as soon as they were shown the basics by the lady on the stand. But would it be so easy to use once we got it home, even by aged parents? Well, yes. The resulting film you can see here on you tube.
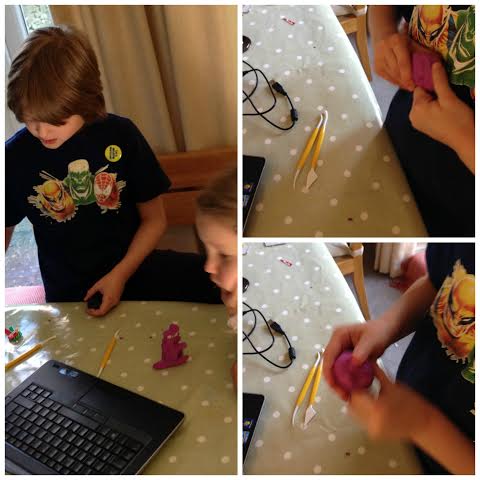
The Dinosaurs in Space kit, which is on sale for £34.99, consists of a decent backlit webcam on a solid base, the excellent Zu3D software, a pack of plasticine with all the colours needed to make the dinosaurs seen on the packet, links to videos on how to make the models and a couple of plastic sculpting implements. Owl started by watching the video on how to make the green triceratops, and managed to sculpt it within about ten minutes. The Lego space digger and train had been made on a previous occasion, and were on the table just waiting to be incorporated in to the plot: Dinosaurs Unleashed was born.
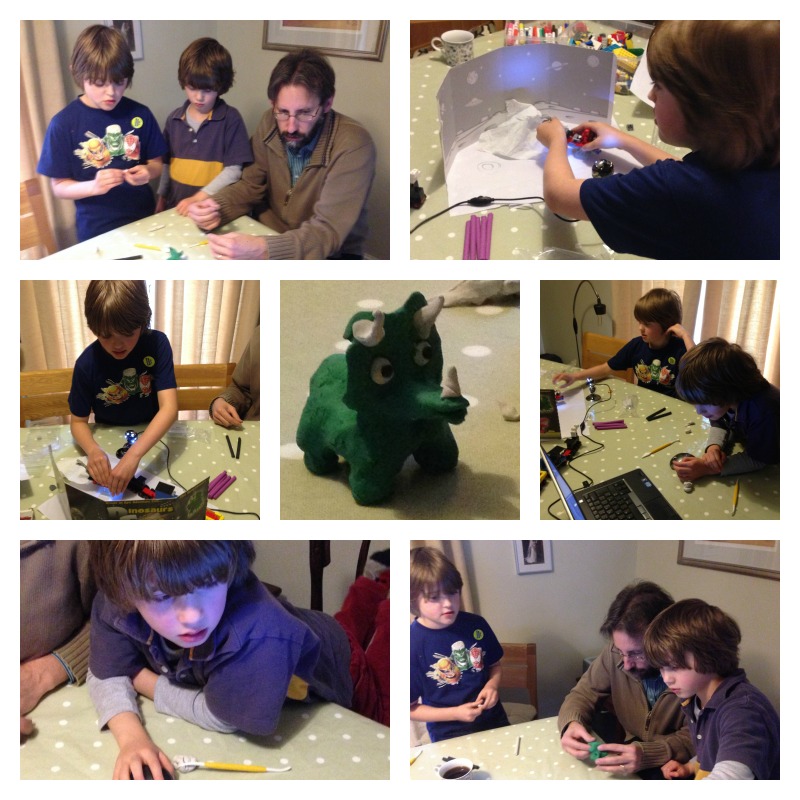
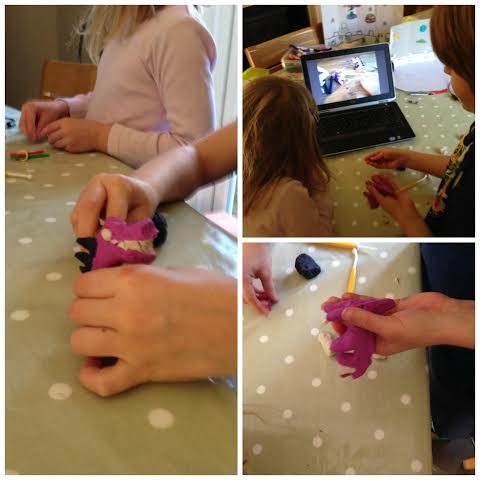
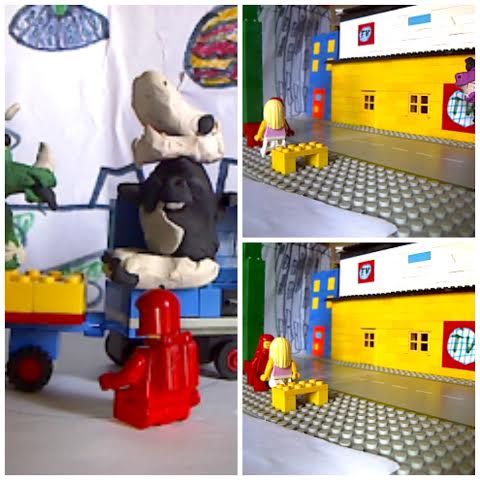
Daddy and Owl did the first segment up to point the triceratops jumps on the train, then we took a break. Later on, Owl watched the video on making the tyrannosaurus and brought it into being, and filmed the middle section himself. Rabbit had also watched the instruction video and made her own black and white character using leftover plasticine. Owl filmed the last dinosaur climbing aboard, then Monkey and daddy joined in for the last section involving the spaceman’s return to earth and girlfriend. A minute’s film required over 600 photographs, and occupied most of the day.
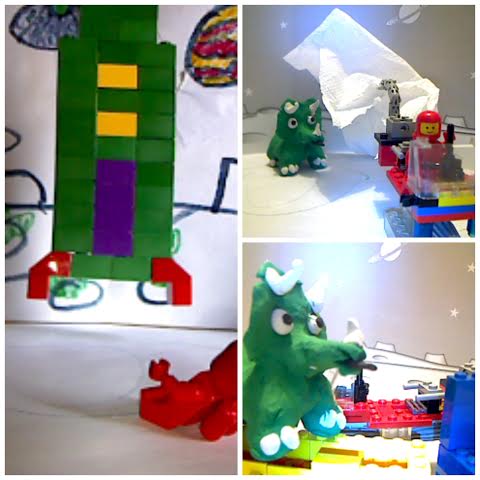
So what was good about the kit? The software was easy enough to use that we’d all understood it within about half an hour, including changing frame speeds, and adding credits and titles. The major feature was the “onion skinning” – being able to see where everything was positioned in the last frame as you take the current one. This gave us a smooth movie, and also helped us recover when the models got knocked over or the camera nudged. There are more options we haven’t looked at yet, and some advanced features like green screening that require an upgrade.
The camera was well built and kept its position easily, and the back lights worked well. I had to tell Zu3D to use this external device over the laptop’s own built-in camera, and found the settings easily. I then had to stop the laptop complaining about the spurning of its camera over and over again, but that is a dell problem.
The addition of plasticine to the kit, and the fact that the opened box wrapper formed a space backdrop, was a nice touch. Without them we would have experimented with Lego on its own, and the spaceman would never have met the dinosaurs.
All in all, the Zu3D looks set to become a regular feature in the caterpillartales household..
We were given the Zu3D Dinosaurs in Space kit free for the purpose of this review.


